
Last updated: August 16, 2026
A jump rope burns more calories per minute than most cardio machines, costs less than a pair of running shoes, and folds into a gym bag. That is the entire case for using one as your primary fat-loss tool. This guide gives you a structured 4-week jump rope workout plan for fat loss, the technique to execute it without wrecking your shins, and the recovery habits that make the results stick.
This is not a ‘skip for 10 minutes and hope’ plan. It is a progressive system built around interval structure, volume tracking, and realistic recovery, designed for anyone training in a gym, at home, or on the road.
Jump rope training sits in a rare category of exercise that is both high-intensity and low-equipment. A person weighing around 75 kg can burn roughly 10-16 calories per minute skipping at a moderate to fast pace, depending on technique and rest structure. That places it ahead of jogging, cycling at a light pace, and most resistance circuits for calories burned per minute.
Short, intense bouts of jump rope create an oxygen deficit that your body repays after the session ends. This is known as excess post-exercise oxygen consumption (EPOC), and it means you keep burning calories at an elevated rate for hours after you have put the rope down. A 20-minute interval session can produce a metabolic aftereffect that a 45-minute steady walk simply cannot match.
Jump rope is not just a calf workout. Every jump requires your core to stabilize your spine, your shoulders and forearms to control rope speed and rhythm, and your hip flexors and glutes to drive the next rep. This full-body recruitment is why total energy expenditure stays high even on lower-impact variations.
You do not need an hour. A well-structured 20-25 minute jump rope session, done consistently, produces fat-loss results that rival much longer gym sessions. This matters most for people who train around work, travel, or family schedules and need a tool that delivers without demanding 90 minutes of their day.
The plan works best when the basics are dialed in first. Skipping on the wrong surface or with the wrong rope length is the fastest way to stall progress through shin pain or wrist strain.
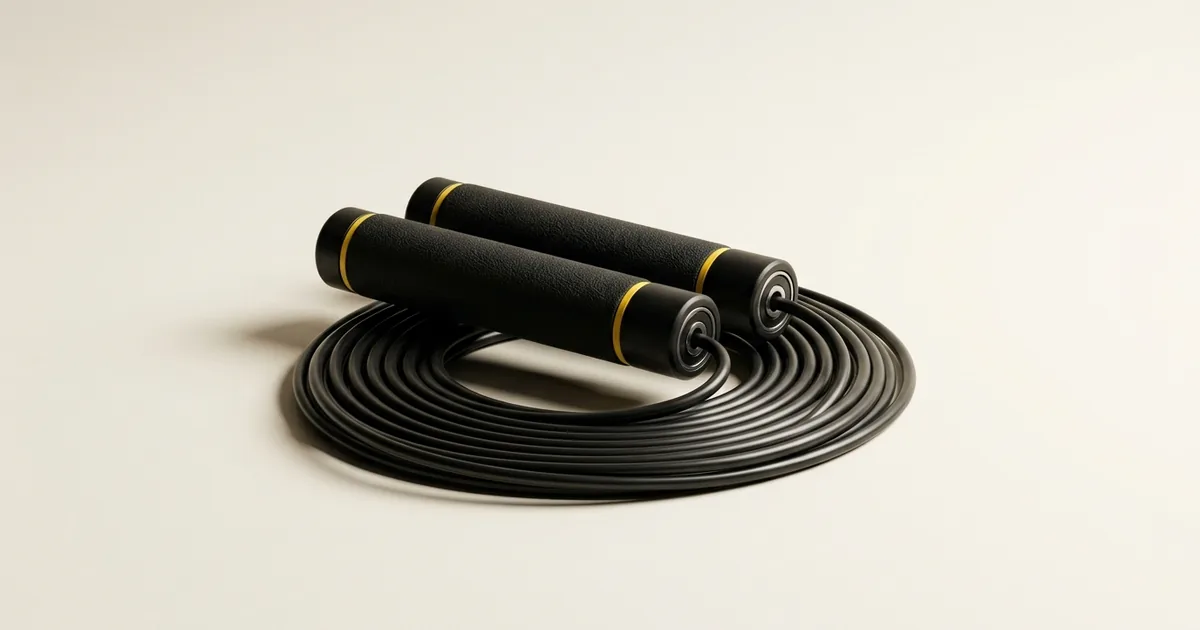
Stand on the middle of the rope with both feet. The handles should reach roughly to your armpits. If you are a beginner, choose a slightly heavier rope, it slows the rotation down and makes timing easier to learn. As your rhythm improves, a lighter speed rope lets you push pace and volume.
A semi-cushioned surface reduces joint impact. Avoid concrete where possible. Cross-training shoes with lateral support work better than running shoes, which are built for forward motion, not the repeated vertical loading jump rope demands.
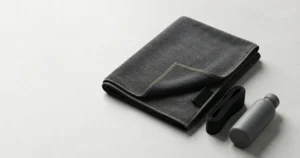
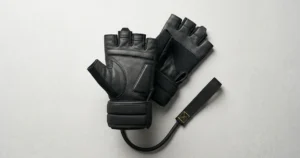
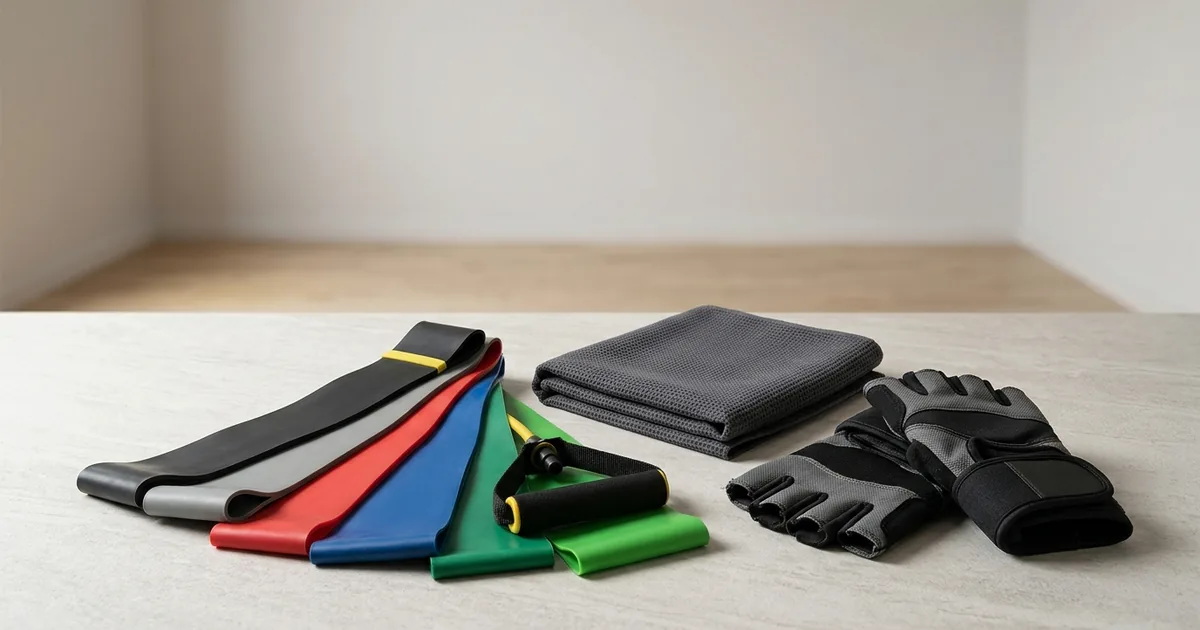
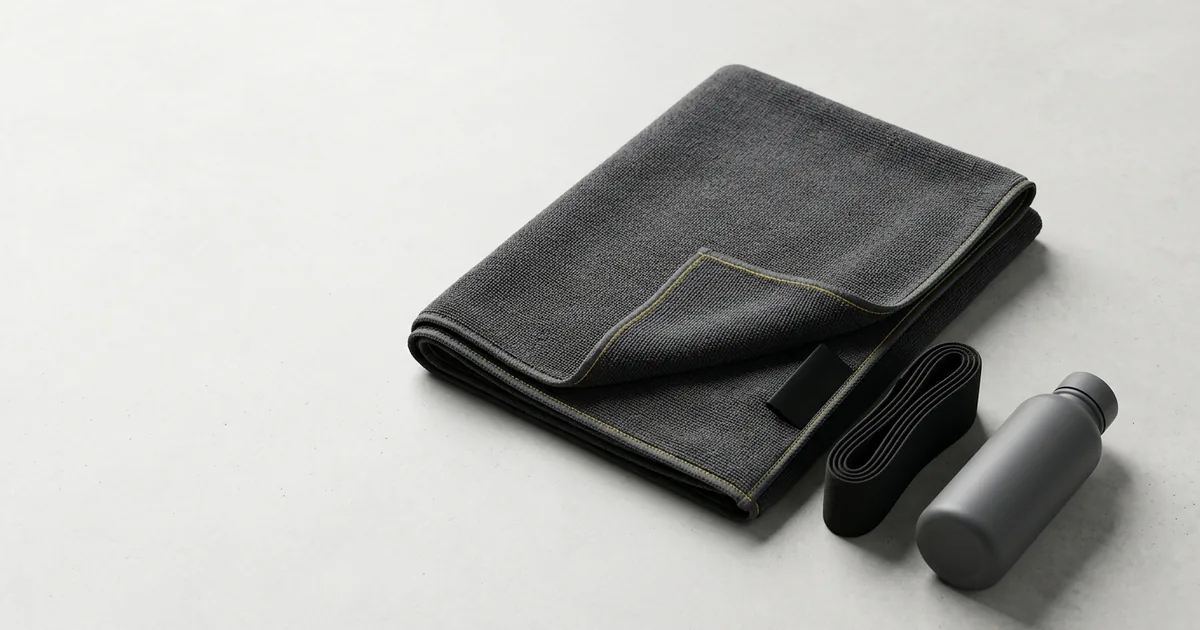
Grip control matters more than most people expect, especially once fatigue sets in during longer intervals. A pair of gym gloves improves handle control and reduces blister risk during high-rep sessions. After the session, a microfiber workout towel handles sweat fast, which matters in humid UAE and KSA training conditions where sessions can get intense quickly.
You need roughly 2 meters of vertical clearance and enough floor space to rotate the rope freely. This makes it one of the few genuinely portable fat-loss tools, usable in a hotel room, a small apartment, or a corner of a gym floor. Browse the new arrivals for compact gear that pairs well with a rope-based routine, especially for anyone building a home or travel setup from scratch.
This plan progresses in three phases, volume, intensity, then density. Each week builds on the last. Do not skip Week 1 even if you have skipped rope before, it recalibrates your footwork and prevents shin splints before the harder weeks arrive.
Goal: build rhythm, footwork, and a base level of conditioning. Sessions are short and controlled.
Total weekly skipping volume: roughly 20-25 minutes. This is intentional. The goal here is technique, not calorie burn.
Goal: extend work capacity and introduce higher-knee variations to raise intensity per round.
Total weekly skipping volume: roughly 35-40 minutes across the week. Shin discomfort should be minimal by now, if it is not, drop back to Week 1 volume for a few extra days.
Goal: shorten rest periods and introduce double-unders or fast-feet drills to push heart rate higher per interval.
Total weekly skipping volume: roughly 40-45 minutes. This is where fat-loss adaptations accelerate, the combination of short rest and high effort keeps the metabolic demand elevated for the whole session.
Goal: maximize calorie expenditure and EPOC through dense interval structures.
Total weekly skipping volume: roughly 45-55 minutes. After Week 4, most people cycle back to Week 2 or Week 3 structure and repeat, increasing rounds or reducing rest slightly each cycle to keep progressing.
Technique determines both your calorie burn rate and your injury risk. These four variations form the backbone of the entire plan above.
Both feet leave the ground together, land together, with a small bounce between rotations. Keep jumps low, a few centimeters is enough. This is your default pace-setter and recovery variation within a round.
Shift weight foot to foot as if jogging in place while the rope passes underneath. This reduces calf strain compared to basic bounce and is useful for extending round length without early fatigue.
Drive knees toward hip height with each rotation. This raises heart rate significantly faster than basic bounce and should be used in shorter bursts within intervals, not for full rounds early in the plan.
The rope passes under your feet twice per jump. This is an advanced skill that multiplies calorie burn per minute but requires wrist speed and timing. Introduce it only after Week 2, and expect a learning curve of missed reps before consistency comes.
If you want a plug-and-play session rather than following the week-by-week structure, use one of these based on your current level.
Jump rope works well as a standalone tool, but it also pairs efficiently with other portable gear when your goal is faster fat loss without adding hours to your training week.
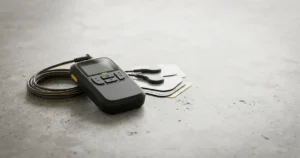
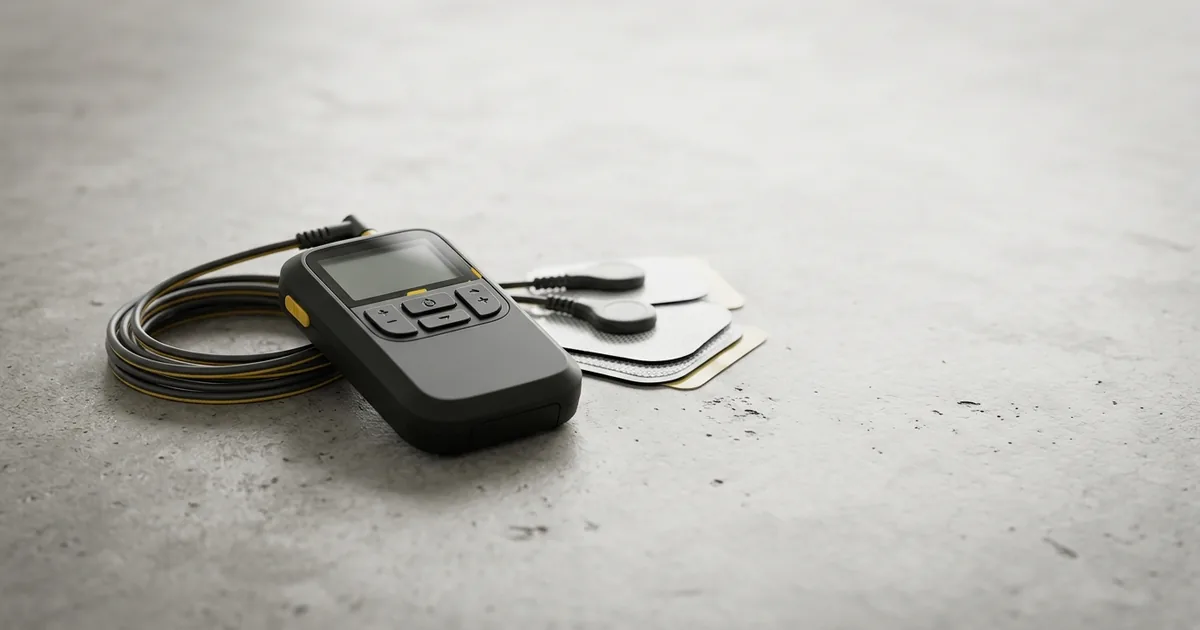
On rest days between skipping sessions, a short session on a vibration plate can help with circulation and muscle recovery, which keeps your legs fresh for the next high-intensity jump rope day. This matters most during Week 3 and Week 4 of the plan, when interval density is highest and recovery quality directly affects your next session’s output.
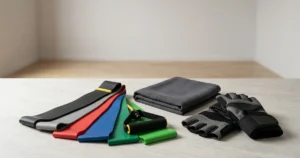
Long double-under sessions place real demand on wrist endurance and grip. A properly fitted pair of gym gloves reduces handle slip from sweat, which becomes a bigger factor as session length and intensity increase through the plan.
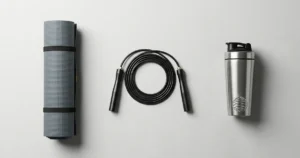
Short rest periods do not leave room for fumbling with bottle caps or spilling water mid-session. A portable blender bottle keeps hydration or a quick electrolyte mix accessible between rounds, which matters more than people expect once session volume passes 30-40 minutes in Week 3 and Week 4.
No jump rope workout plan for fat loss works in isolation from what happens outside the session. Two variables matter most, energy balance and recovery quality.
Jump rope creates the calorie deficit engine, but the deficit itself comes from combining that output with controlled food intake. You do not need to overhaul your entire diet, a moderate reduction in daily calories combined with the calorie burn from this plan is enough to produce visible fat loss over 4-8 weeks for most people.
Aim for adequate protein across the day to protect lean muscle while in a calorie deficit. This matters because muscle tissue is metabolically active, losing it slows your metabolism over time, undermining the very fat-loss goal you are training for.
High-intensity interval work, which this plan relies on heavily by Week 3 and Week 4, places real demand on your nervous system. Under-recovered training shows up as flat performance, shorter rounds, and stalled fat-loss progress despite consistent effort. Treat sleep as part of the plan, not separate from it.
Rest days do not mean total inactivity. Light walking, mobility work, or a short vibration plate session all support recovery without adding fatigue. This keeps your joints and connective tissue prepared for the next high-intensity skipping session.
Excess jump height increases impact on the shins and ankles without adding calorie burn. Keep clearance minimal, just enough for the rope to pass.
Jumping straight into intense interval work without building footwork and rhythm first is the single biggest cause of shin splints and early plan dropout. Week 1 exists for a reason, respect it even if you have skipped rope casually before.
Cutting rest short before your body is ready reduces round quality and increases injury risk. Follow the rest intervals in the plan, they are structured to build capacity progressively, not to be shortcut.
Concrete and hard tile increase joint stress significantly compared to a semi-cushioned floor or a dedicated mat. If shin or knee discomfort appears early in the plan, check your surface before assuming the plan itself is the problem.
Forearm and shoulder fatigue late in a session often causes rope-handling errors, which break rhythm and reduce the intensity of remaining rounds. Grip-supporting gear and proper handle technique reduce this issue significantly as volume increases through the weeks.
Fat loss is rarely linear week to week, so track more than just the scale.
If shin or joint discomfort appears, or if round quality drops significantly compared to the previous session, repeat the current week rather than advancing. Progression only works when each phase is built on a stable foundation, pushing through pain or poor form undermines the entire plan.
The core advantage of a jump rope workout plan for fat loss is that it does not require a fixed location. A rope fits in a carry-on, a gym bag, or a kitchen drawer, which removes the most common excuse for missed sessions, no access to equipment.
Use jump rope as a finisher after resistance training, or as a standalone conditioning day. The intervals in this plan slot easily into an existing gym schedule without requiring extra machines or floor space.
A small clear area, a supportive shoe, and 20-30 minutes is all this plan requires. Pair it with a vibration plate session on rest days to build a complete home-based fat-loss routine without needing a commercial gym membership.
Hotel rooms rarely offer functional cardio machines, but a rope, a bottle, and a towel cover everything this plan needs. This portability is precisely why jump rope remains one of the most consistent fat-loss tools for people who travel frequently for work.
A jump rope workout plan for fat loss works because it combines high calorie burn, minimal equipment, and total portability into one system. Follow the 4-week progression, respect the foundation phase, track your rounds and recovery, and pair your sessions with the right supporting gear. Fat loss is a consistency game, and few tools make consistency this easy to maintain across a gym, a home, or a hotel room.
20-30 minutes of structured interval skipping, 4-5 days per week, is enough to drive fat loss when combined with a moderate calorie deficit. The 4-week plan above builds from roughly 20 minutes total weekly volume in Week 1 to 45-55 minutes by Week 4.
Jump rope typically burns more calories per minute than running at a moderate pace, and it recruits the upper body and core more actively. It also causes less repetitive forward-impact stress than running, though both are effective when programmed with proper progression and recovery.
Shin splints usually come from jumping too high, training on a hard surface, or skipping the foundation phase of a progressive plan. Keeping jump height low, using a semi-cushioned surface, and building volume gradually through Week 1 and Week 2 significantly reduces this risk.
Most people notice measurable changes in waist measurement and conditioning within 4-6 weeks of consistent training, provided the plan is paired with adequate protein intake and a moderate calorie deficit. Scale weight can lag behind visible changes, so track waist measurements and round quality alongside body weight.
A rope sized so the handles reach your armpits when standing on the middle is enough to start. Beginners benefit from a slightly heavier rope for easier timing, while a lighter speed rope helps once double-unders and higher-intensity intervals are introduced later in the plan.

Last updated: October 21, 2026 Sore legs the day before a big lift. Tight shoulders after three straight gym sessions.
Last updated: October 21, 2026 Most home gyms fail for the same reason: the gear doesn’t match the space, the
Last updated: October 18, 2026 Most people buy a gym towel the way they buy a phone charger, fast, cheap,